Publish your solution to the Azure Marketplace

Publishing own solutions to the Azure Marketplace seems to be very easy by using the documentation on https://docs.microsoft.com/en-us/azure/marketplace/marketplace-publishers-guide. To avoid any pitfalls I wrote down some insights about my first approach. In this blog, I will focus on “Azure Applications”
The Cloud Partner Dashboard
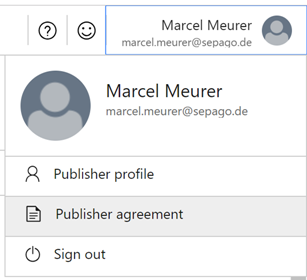
Make sure that you have access to the Cloud Partner Portal at https://cloudpartner.azure.com. In my case, I use my coopered credentials to log in. Assign your Dev Center account details via Publisher Profile:

Hint: I had some trouble doing this. My Dev Center account was not accepted. The reason was that my Dev Center account and my cooperated account names are/aren’t similar. A Dev Center account is always an MSA (former live id). So, I couldn’t invite this account into the Cloud Partner portal. My workaround:
- Create a new MSA, e.g. myname.dev@outlook.com
- Create a new Dev Center account with the new MSA: https://developer.microsoft.com
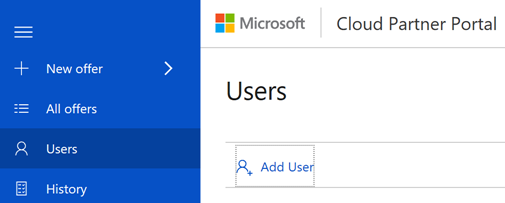
- Add the new MSA into the Cloud Partner Portal

- Assign your Dev Center account
Prepare your publishing package
Publishing (-) Azure Applications means that you provide an ARM template and other resources, like:
- mainTemplate.json
- createUiDefinition.json (https://docs.microsoft.com/en-us/azure/managed-applications/create-uidefinition-overview)
- nestedtemplates.....json (for linked templates)
- and maybe some other folders
All the files must be in a zip archive for (-) further upload. The folder structure is important and createUiDefinition.json and mainTemplate.json are mandatory. The ARM templates and the create UI are checked by Microsoft before your offer is available to the public. To avoid some iterations, make sure that you have observed the following things:
- ARM Templates
- Do not reference external sources like nested templates on GitHub – everything must be in the package
- maintemplate.json must have a "parameters" property
- Parameters without defaultValue s. They must have a corresponding output in createUiDefinition.json
- A parameter named "location" must exist and it must have a defaultValue of resourceGroup().location
- Use the correct API versions#VM Image ref must not contain "-preview"
- Do not concat Ids like: "[Concat('/subscriptions/', parameters('subscriptionId'), '/resourceGroups/', parameters('resourcegroup'), '/providers/Microsoft.OperationalInsights/workspaces/', parameters('workspace'))]" use resourceId: "[resourceId('Microsoft.OperationalInsights/workspaces', parameters('workspace'))]
- createUiDefinition.json
- Must have a schema property
- Handler property value should be 'Microsoft.Compute.MultiVm'
- Version property value must match schema version
- Must have parameters and output(-) properties
- Output location must be present in mainTemplate parameters
- Output workspace must be present in mainTemplate parameters
- Parameters should have basics and steps properties
- Location must be in outputs and should match [location()]
- Do not say that a user has to enter a unique name (e.g. for a web app) – generate a unique name with an appendix (use uniqueString()), e.g.: "[concat(parameters('resourcename'),'-', uniqueString(resourceGroup().id,subscription().subscriptionId))]"
- Text boxes (for names) must have a regex constraint
- Text boxes (for names) must have a validationMessage
Publish your package for a private test
After you have zipped your package, you can create a new “Azure Application” offer in the Cloud Partner portal. Select a new offer, Azure application and fill out the fields. Publish it for your personal test (add your subscription id to make it visible).

Publish your package to the public
After you have tested your package privately, you can apply to make it public to the world. This takes some time while automatism and a (human) reviewer check your templates. If something is invalid, you get a mail with a link to a pull request where you can check what’s wrong.
Fist published on: https://www.sepago.de/blog/publish-your-solution-to-the-azure-marketplace/